Users with the relevant reports roles can print reports from various contexts in Central.
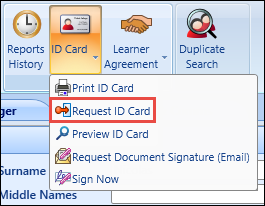
You can also request reports be sent to the batch print queue by clicking the Request button for the relevant report.
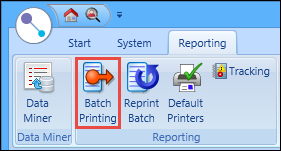
From the Reporting ribbon in Central, you can:
To batch print requested reports:
-
Click the Batch Printing button on the Reporting ribbon.
The Batch Printing screen is displayed.

- Do one of the following:
- To print a single report, select the required report in the grid, and then click the Print Selected button on the Report Commands ribbon
- To print all requested reports, click the Print All button on the Report Commands ribbon

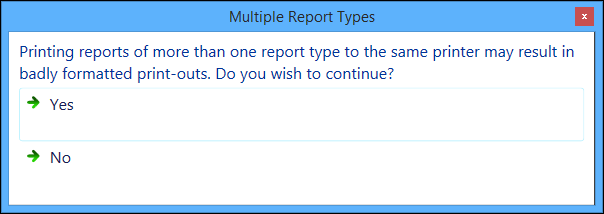
If you select to reports with different report types, a message is displayed to warn that the format of the reports printed may be affected. You can click Yes on this message to proceed or No to return to the Batch Printing screen.
The Batch Print window is displayed.
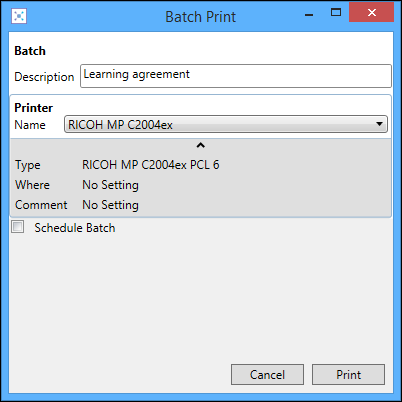
- Enter the details of the batch print.
The fields on the Batch Print window are described in the following table.
| This field | Holds this information... |
|---|---|
| Description | The description of the batch. |
| Name | The printer the reports will be printed to. Select from the drop-down list. |
| Schedule Batch | Whether to schedule the batch print for a later date or time. |
| Start Date |
The start date for the batch print schedule. Enter the start date for the schedule, or click the Calendar button to display the calendar where you can select the required date. This field is only displayed if the Schedule Batch check box is selected. |
| Start Time |
The start time for the batch print schedule. This field is only displayed if the Schedule Batch check box is selected. |
-
Click the Print button to print the reports.
The Schedule button is displayed instead of the Print button if you selected to schedule the batch, from which you can confirm to create a schedule.
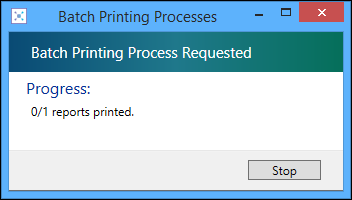
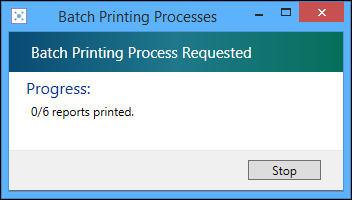
The Batch Printing Processes window is displayed, which allows you to continue working whilst the printing is in progress, and to see the progress made to the current batch.
You can click the Stop button on the Batch Printing Processes window to cancel the batch printing process.
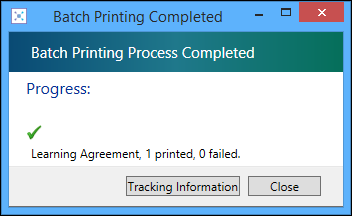
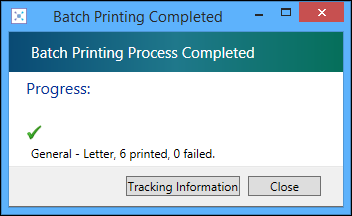
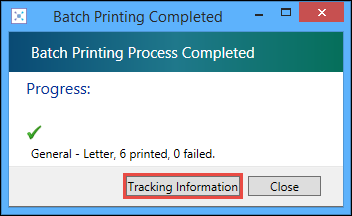
The Batch Printed Completed window is displayed on completion of the print and will display the number of printed reports, and the number of failed prints.
-
Click Close to close the Batch Printed Completed window.
You can also click the Tracking Information button to view tracking data.
To reprint a batch of previously printed reports:
-
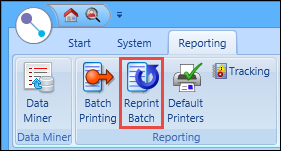
Click the Reprint Batch button on the Report Commands ribbon.
The Reprint Batch screen is displayed.

You can view a list of batches from the last week only by clicking the Last Week button on the Reports Command ribbon.

-
Select the batch you want to reprint from the Batches grid.

The Reports grid at the bottom of the screen will be updated with a list of reports printed in the selected batch.

-
Click the Print All button on the Reports Command ribbon.

The Batch Print window is displayed.
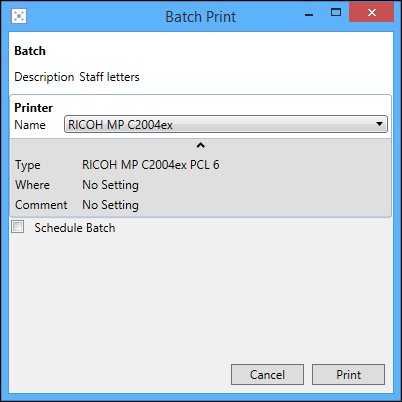
- Enter the details of the batch print.
The fields on the Batch Print window are described in the following table.
| This field | Holds this information... |
|---|---|
| Description | The description of the batch. |
| Name | The printer the reports will be printed to. Select from the drop-down list. |
| Schedule Batch | Whether to schedule the batch print for a later date or time. |
| Start Date |
The start date for the batch print schedule. Enter the start date for the schedule, or click the Calendar button to display the calendar where you can select the required date. This field is only displayed if the Schedule Batch check box is selected. |
| Start Time |
The start time for the batch print schedule. This field is only displayed if the Schedule Batch check box is selected. |
-
Click the Print button to print the reports.
The Schedule button is displayed instead of the Print button if you selected to schedule the batch, from which you can confirm to create a schedule.
The Batch Printing Processes window is displayed, which allows you to continue working whilst the printing is in progress, and to see the progress made to the current batch.
You can click the Stop button on the Batch Printing Processes window to cancel the batch printing process.
The Batch Printed Completed window is displayed on completion of the print and will display the number of printed reports, and the number of failed prints.
-
Click Close to close the Batch Printed Completed window.
You can also click the Tracking Information button to view tracking data.
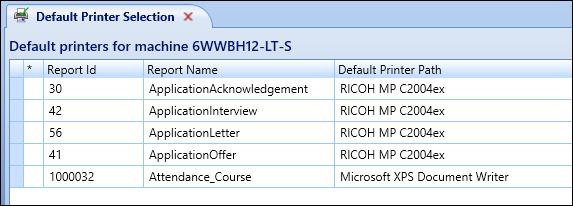
You can configure default printers to be used when printing a report.
To add a default printer:
-
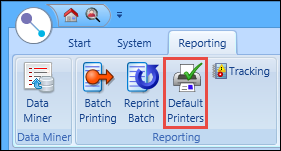
Click the Default Printers button on the Reporting ribbon.
The Default Printer Selection screen is displayed.
-
Click the Add button on the Report Commands ribbon.

A new row is added to the grid.
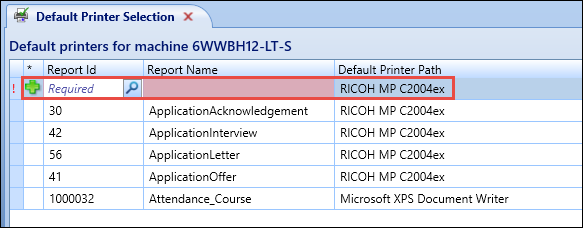
- Enter the required details for the default printer.
The fields on the Default Printer Selection screen are described in the following table.
| This field | Holds this information... |
|---|---|
| Report Id | The ID of the report you want to set up. Enter the report ID or click the Search button to display a window where you can search for and select the required report. |
| Reports Name |
The name of the report (read-only). This field is automatically populated when a report ID is entered. |
| Default Printer Path | The default printer that reports will be printed to. Select from the drop-down list. |
-
Click Save.
The default printer is added for the selected report.
You can also discard the changes before saving by clicking the Discard Changes button on the Report Commands ribbon.

To delete a default printer:
-
Click the Default Printers button on the Reporting ribbon.

The Default Printer Selection screen is displayed.

-
Select the required default printer record in the grid.
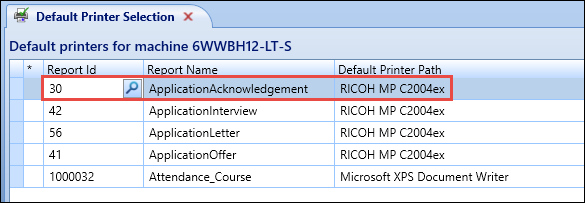
-
Click the Delete button on the Report Commands ribbon.

The following message is displayed.
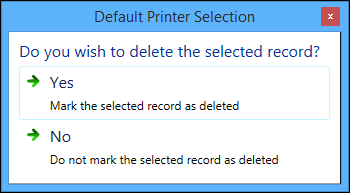
-
Click Yes to mark the record for deletion.
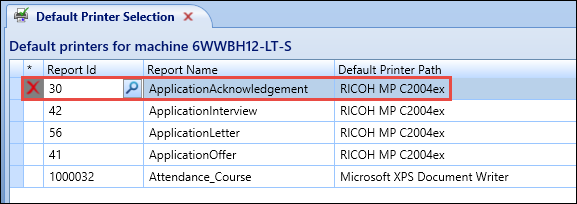
You can select to cancel the deletion before saving by clicking the Undelete button on the Report Commands ribbon.

-
Click Save.
The default printer record is deleted.
You can view the workflow tracking details of the printed batch from the following:
-
The Tracking Information button which is displayed on the Batch Printed Completed window on completion of the batch printing process
-
The Tracking button on the Reporting ribbon
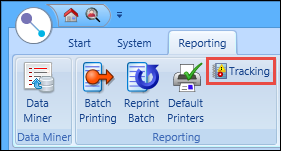
Clicking either of these buttons will display the Report Process Tracking screen, which lists the tracking records for the selected instance of the workflow.
![]()
You can control the filtering of the tracking records from the buttons in the Tracking group of the Report Commands ribbon.
![]()
The tracking data that is displayed will depend on the tracking level set against the workflow (that is: if the tracking level is set to 'ExceptionOnly', then only tracking data with exceptions is displayed on the Report Process Tracking screen).
![]()